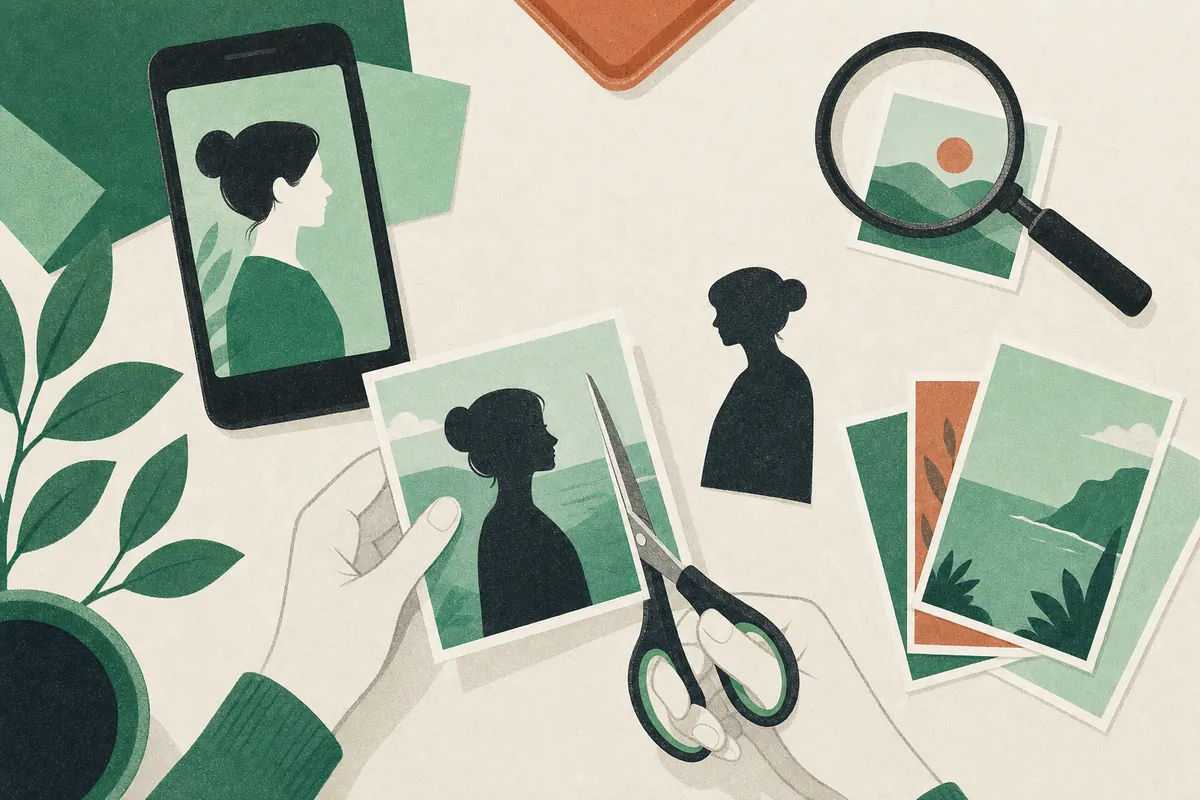
A short video is never only a video. It needs a thumbnail that makes someone stop. It needs a picture of the product you are talking about. A list scene looks better with an illustration behind it. For most creators that meant a second app, a second subscription and twenty minutes of exporting and re-uploading for every post.
The SpliceReel Image studio puts those pictures next to your videos. You make them in the same place you edit, and they land in your media library, ready for a scene.
This guide walks through the six tools, what each is good for, and the one choice you make every time: with AI, or on your device.
Create: a picture from a few words
Open Image studio under Create in your dashboard and describe what you want. Be as concrete as you would be with a photographer: what is in the frame, where the light comes from, what the mood is.
- "A flat-lay of a morning coffee, a notebook and a phone on a linen tablecloth, soft window light"
- "A minimalist desk setup at night, one warm lamp, a laptop showing a chart"
Then pick a shape. Use 9:16 for reels and stories, 16:9 for YouTube, 4:5 for feed posts, or square. Pick a style too: photo, cinematic, product shot, illustration, 3D, flat graphic, watercolour or neon. You can ask for up to four versions at once and keep the best.
Reference pictures are the part most people miss. Add up to three of your own pictures, such as your product, your face or a colour scheme you like, and the new picture follows them. That is how you get your bottle on a beach instead of a bottle on a beach.
Edit: change a picture by saying what you want
Pick any picture and describe the change:
- "Put the bottle on a wet black rock, moody blue light"
- "Make it night, lit by warm street lights"
- "Relight it with soft golden-hour light from the left"
- "Remove the text and logos"
The original is never touched; the edit is saved as a new picture. Keep the instruction to one change at a time and you will get closer to what you pictured. The before and after appear side by side, so you can see exactly what moved.
Thumbnail: the frame you are proud of, made to stop the scroll
A thumbnail works best when it is you, a few big words and a clean background. The Thumbnail tool builds exactly that from your own video:
- Choose the video and slide to a good moment: eyes open, an expression that matches the hook.
- Write the headline. Put stars around the words that should pop, like
I tried it for *30 days*, and they are drawn in your accent colour. - Pick the format (reel cover or YouTube), which side you stand on and the lettering.
- Choose the background: your brand colours, the video frame itself, one of your pictures, or one drawn by AI around your video's topic, leaving room for you and the headline.
- Press Draw thumbnail. You are cut out of the frame, given a white sticker outline, and set over the background with the headline.
Download it, save it to your library, or press Set as the video's cover to use it for the video in Exports.
Remove background: stickers, products and clean cut-outs
A subject on a transparent background is useful everywhere: product shots on a plain colour, a sticker of you over a scene, a logo for your end card. Pick a picture, or use one straight from your computer or phone, and press Remove background.
Upscale and enhance: small pictures, made usable
An old photo, a screenshot or a small product picture can look soft in a 1080p video. Upscale ×2 doubles the width and height. Enhance with AI redraws a small or blurry picture sharper, up to 1536 pixels on its longest side.
With AI or on your device?
Removing a background and upscaling work two ways, and you choose per picture.
With AI takes a few seconds on any device, even a phone or an old laptop. It costs the credits shown on the button, nothing is charged if it fails, and the result is saved to your library. The AI redraws the picture rather than tracing it. Faces and products stay very close to the original, but very fine details such as stray hairs or small print can change slightly.
On your device is free and private. The work runs in your browser and nothing is uploaded until you choose to save. The first time, your browser downloads the AI model and keeps it, so later runs are quicker. It is fastest on a computer. Upscaling this way keeps every pixel honest, so use it when the picture must stay exactly as it is.
A simple rule: use AI when speed matters or you are on a phone, and your device when exactness or privacy matters.
Putting pictures into your videos
Everything you make in the Image studio is saved to your media library under Generated. It is kept, not deleted after a few days like uploads. From there:
- In the editor, pick a picture for an illustration scene, a screenshot frame or a logo wall.
- Ask the editor chat: "add a scene with my product picture when I mention the price". It can see your library by name.
- When the AI writes your first cut, it can choose pictures from your library for its scenes.
So a typical post goes like this. Edit the video, make the product shot in the Image studio, drop it into a scene, export, then build the thumbnail from your best frame. All of it happens in one place.
Frequently asked questions
What does the Image studio cost?
Pictures made or edited with AI cost the credits shown next to each button, and nothing is charged if a picture fails. Removing a background and upscaling on your own device are free. Your credits never expire.
Where are my pictures kept?
In your media library, under Generated. Pictures made in the Image studio are kept until you delete them, and you can download any of them at any time.
Can it follow my product or my face?
Yes. Add up to three reference pictures when you create, or start an edit from your own photo. The result follows them closely.
Which sizes can I make?
Square, 9:16 for reels and stories, 16:9 for YouTube, 4:5 for feed posts and 3:4 portrait. Thumbnails come out at full HD.
Does it work on my phone?
Yes. Everything works in a modern mobile browser. On a phone, choose With AI for removing backgrounds and enhancing; the on-device option is quickest on a computer.
Ready to try it? Open Image studio in your dashboard, or read more on the Image studio page.